I’ve spent years tuning aquaponics plumbing, and I’ll tell you: it’s like the system’s circulatory system — get the pipes and pump right and everything stays healthy. I think pipe size, pump placement, and whether you use gravity or pressurized lines matter most; its—no, it’s essential. I’m not entirely sure, but maybe a few small tricks cut maintenance and prevent leaks, and I’ll show you how…
Understanding Aquaponics Plumbing Fundamentals and Flow Dynamics

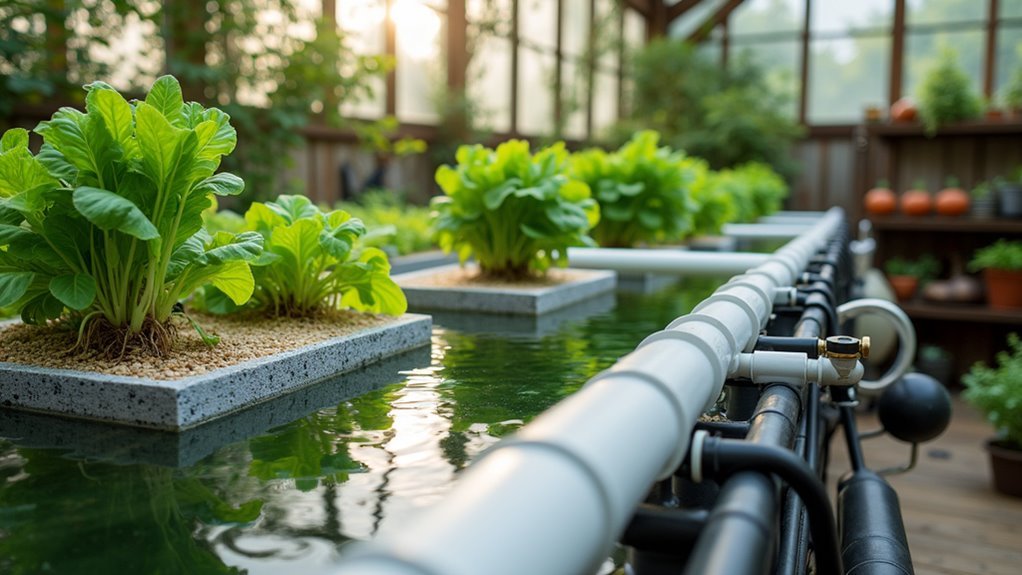
Although it’s easy to think of aquaponics plumbing as just pipes and pumps, I’ve found it’s more like the system’s circulatory system — get the flow wrong and everything else starts to suffer. I plan layouts around continuous water flow so Aquaponics nutrient management stays balanced and fish health considerations are met.
Pipe sizing matters — too small and you get clogs, too big and velocity drops. Gravity lines feel simple, but they need slope; pressurized ones need reliable pump capacity.
I usually add bypasses and flow regulators; they save a lot of headaches. Leak prevention is boring but essential: gasketed fittings and good sealant stop water loss.
I think it’s like tuning an engine; maybe I’m biased, but it works. Trust me, seriously. Calcium balance is essential for cell wall formation and overall plant health calcium supplementation.
Choosing the Right System: Flood & Drain, DWC, and Continuous Flow
I tend to favor flood & drain for mixed beds because the periodic flooding—powered by siphons or bell valves—mimics ebb and flow, boosts root oxygenation and helps flush solids, and honestly it makes the plants look happier.
On the other hand, DWC holds a constant water level with rafts and is low-maintenance for leafy greens.
While continuous flow uses an uninterrupted pump-driven movement that certain crops, like lettuce, actually prefer.
I’m not entirely sure, but I think choosing between them comes down to crop type, space and how much time you want to spend—well, how much time you wanna spend, sorry, I mean want to spend.
Regular testing of water parameters helps prevent disease and stress, contributing to overall system stability water quality.
Flood & Drain Overview
Why pick a flood & drain setup over DWC or continuous flow?
I like it because the periodic flooding mimics rain, pushing oxygen and nutrients to roots and helping Aquaponics nutritional balance; it’s simple and forgiving.
A bell siphon or timed pump automates cycles — they’re satisfying when tuned right, they’re finicky, wait, finicky.
You get excellent root oxygenation and bacterial activity from wet-dry cycles, which also supports Fish tank aeration indirectly by improving cycling.
You do have to nail flood height, cycle frequency, and drain time to avoid overflows.
Pipe and pump sizing matters; too small and you risk backups.
Noise, siphon clogging, fluctuating levels—these are real annoyances, but manageable with care and patience.
I’m not entirely sure, but I think it’s worth it.
DWC Vs Continuous Flow
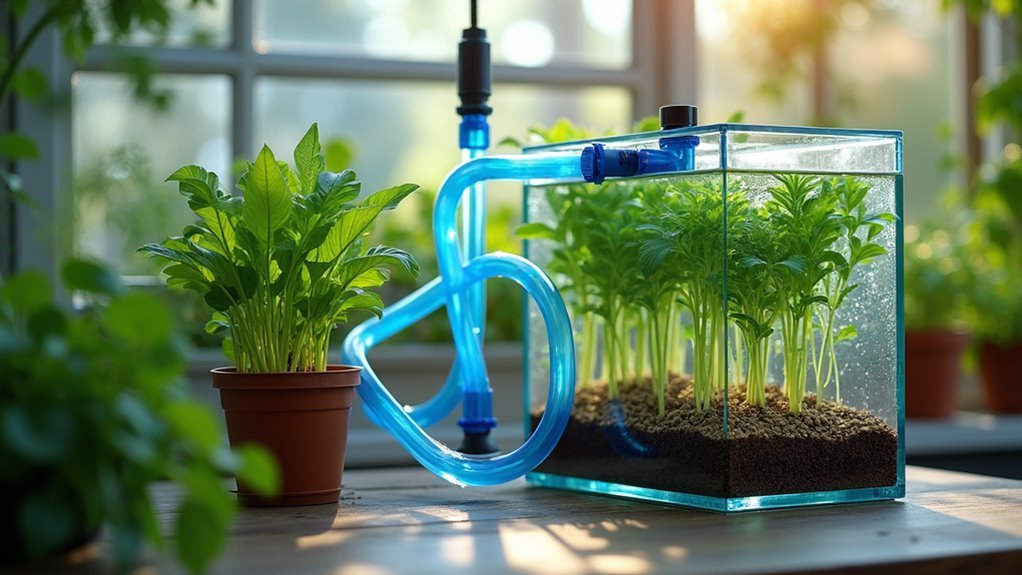
How do you pick between DWC and continuous flow when both promise fast growth and steady nutrients? I lean toward DWC when space’s tight and you want roots suspended in aerated water—it’s like floaties for plants—and oxygen comes from air stones.
Continuous flow feels more graceful, like a stream through channels; steady movement supplies oxygen without stones and keeps levels constant.
I think plant type, desired flow rate, system complexity, and even aquaponics aesthetics matter. Fish health is the priority, though, so pick what keeps ammonia low and oxygen high.
In my experience, DWC demands blowers; continuous flow needs reliable pumps.
Maybe you’ll prefer one, or maybe you’ll mix them—I’m not entirely sure, but hybrid setups can work.
Right, that’s it. Hope that helps.
Essential Tools, Materials, and Fitting Selection
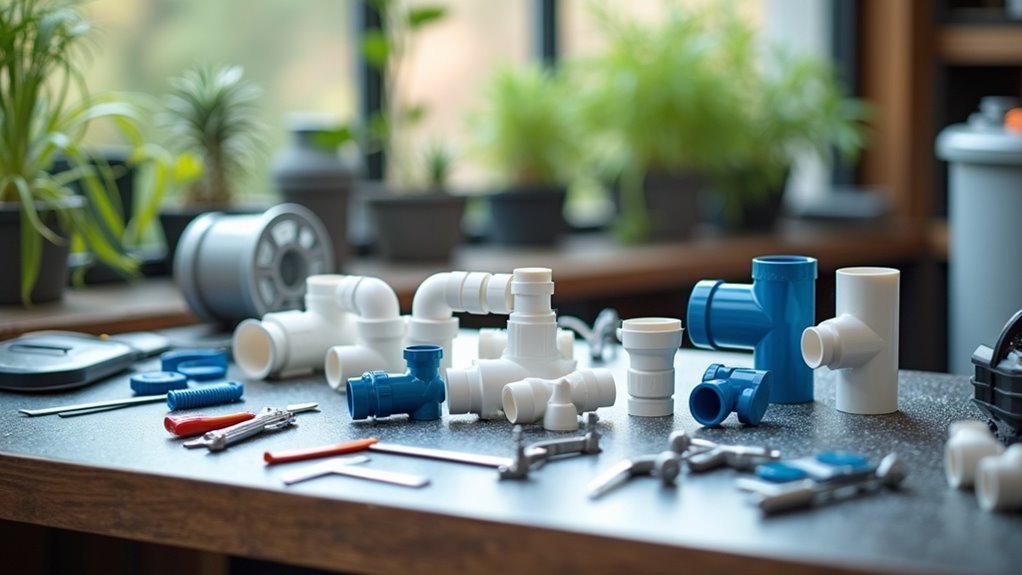
Because the plumbing is basically the circulatory system of your aquaponics setup, choosing the right tools, materials, and fittings matters more than you might expect. I use high-quality PVC or CPVC rated for water; they last and resist chemicals.
In addition, schedule regular water testing for pollutants and toxins to guide maintenance decisions and ensure long-lasting pipe performance water quality testing.
Pick ball valves, sweep elbows, and threaded connectors made for concrete or plastic so connections stay leak-proof.
Keep pipe cutters, deburring tools, solvent or thread sealant close.
Use tee fittings with sweeping angles rather than tight 90° elbows to keep flow smooth and cut pressure loss.
Match fittings to pipe diameter—compatibility matters.
Also consider pipe insulation for temperature control and the environmental impact of plastic choices; I try to balance durability with greener options, though it’s not always simple—I mean, I’m still learning, you know.
Step-by-Step Plumbing Layout and System Diagram Best Practices
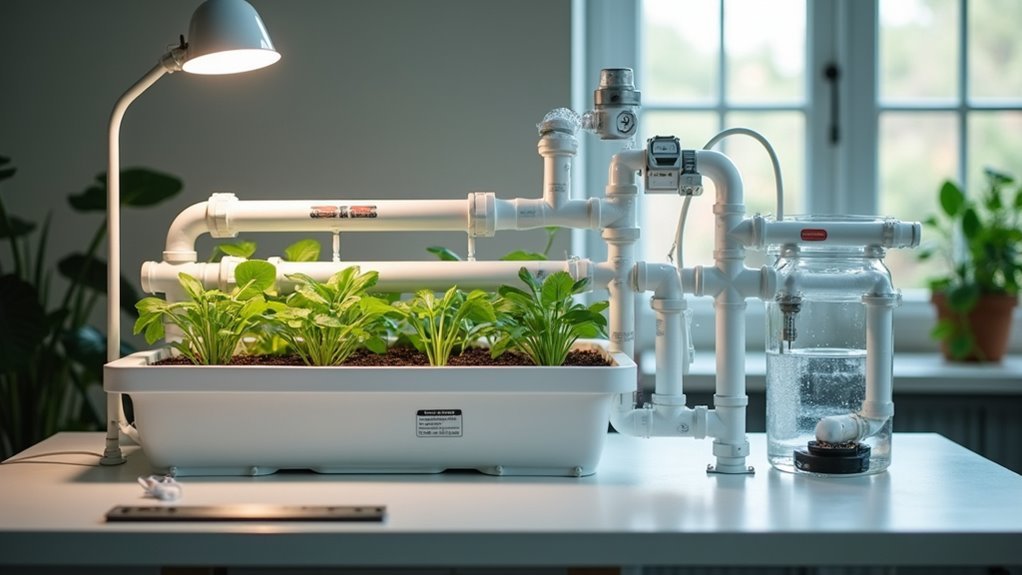
Now that we’ve covered the tools and fittings, it’s time to lay everything out on paper so the plumbing actually makes sense. I start with a clear schematic mapping tank, grow beds, sump, pumps and piping routes so flow paths are obvious. A key principle is maintaining water quality through regular monitoring and properly sized piping. I label main lines and use appropriately sized pipe—usually 1 ½” or larger—to avoid clogs. For drains I favor gravity-fed oversized lines with sweep fittings; they act like a highway for solids.
Pumps go beside the sump; that’s where I place automatic shutoff switches for safety.
I add clean-out points—T-caps and accessible fittings—to simplify maintenance and spot leaks quickly.
Oh, and I sketch where aquarium lighting and a spot for fish feeding will sit. I’m not perfect, but this plan usually works well.
Calculating Flow Rates, Pipe Sizing, and Velocity Targets
I usually start by working out the flow rate — how many gallons per minute it takes to cycle the whole system in about 15–30 minutes — because that number drives everything else.
Then I pick a pipe diameter to keep velocity around 1–3 ft/sec (you don’t want it above about 3 ft/sec), using Hazen‑Williams or Darcy‑Weisbach to factor in length and friction; it’s kinda like picking the right-sized highway for your water, too narrow and you get traffic and wear.
I think it’s best to match the pump to that calculated flow and head, maybe tweak a bit for real-world losses — wait, or rather, account for them up front — so you’re not surprised by lower flow later. This approach also emphasizes water conservation through the closed-loop system water conservation.
Flow Rate Calculations
When planning an aquaponics plumbing layout, getting the flow rate right makes everything else easier — it’s the heartbeat of the system. I calculate flow by matching total system volume with a turnover target, often 1–2 times per hour, which ensures good nutrient absorption and helps temperature regulation.
I use standard units (GPM or L/s) and simple division: desired flow divided by pipe area gives velocity. That sounds nerdy, but it’s doable. I think it’s like tuning an engine. Maybe I’m not entirely sure sometimes, but practice helps—measure, adjust, repeat.
Here are practical reminders I keep in mind:
- Measure total water volume accurately.
- Choose a turnover rate (1–2/hr).
- Convert to GPM or L/s.
- Divide by pipe area (πr²).
- Verify with field measurements now.
Pipe Diameter and Velocity
One thing I always check first is how pipe diameter and velocity play off each other — it’s kind of like tuning a guitar string: too loose and it sags, too tight and it snaps.
I calculate flow using Q = A × V, plugging system volume and desired circulation to pick diameters that keep velocities around 1–3 ft/s.
In my experience, oversized lines let solids settle; undersized ones raise noise and stress. I consider pipe material and installation techniques too, since rough walls or bad joints add head loss.
I usually verify with a flow meter during setup — you want consistent velocity, not guesswork.
Maybe I’m picky, but proper sizing saves energy, prevents erosion, and keeps fish happy. I think that’s worth the effort.
Comparing Pipe Types, Tubing, and Connector Options
Although PVC is the go-to for most aquaponics setups, I think it’s worth looking at the whole toolbox before you commit—PVC’s tough, chemical-resistant, and easy to assemble. But flexible tubing has its place too.
I usually pick SCH 40 PVC for mains, SCH 80 I expect bumps, and I think about pipe insulation to reduce temperature swings. Environmental impact matters, so I reuse where possible.
Flexible vinyl or silicone works for drip lines, though UV and pressure limits bite.
Connectors matter: threaded, solvent-weld, push-fit each have tradeoffs. Sweep elbows beat 90s for flow.
Maybe you’re unsure; here’s a quick checklist I use:
- PVC mains: durable, cheap, familiar
- Flexible tubing: adaptable, limited pressure
- Threaded fittings: removable, leak risk
- Solvent welds: permanent, secure
- Push-fit: fast, convenient
Additionally, design choices should consider ongoing nutrient cycling to maintain system balance.
Pump Placement, Redundancy, and Gravity Versus Pressurized Lines
After thinking about pipes and fittings, it’s time to talk about how to actually move the water — and where to put the heart of the system, the pump. I place pumps low, usually in the sump or below tank level so they won’t run dry; it’s simple physics and saves headaches. Pump positioning matters for consistent flow. Regular water movement also helps prevent ammonia and nitrate buildup in the system.
I also plan for failures — redundancy planning means a backup pump or parallel lines so circulation keeps going during pump faults or outages. Gravity flow systems can handle a lot if you upsized drains and outlets; they’re low-energy, less finicky.
Pressurized lines, by contrast, depend on pumps to push water and need proper sizing to avoid bursts and keep flow rates steady. I think that’s the balance.
Leak Prevention, Routine Maintenance, and Troubleshooting Protocols
- Inspect all joints and valves regularly
- Use food-grade sealants on threads
- Monitor pressure and flow rates
- Clean filters and flush lines on schedule
- Keep spare fittings and patch kits
Regular testing informs adjustments to optimize conditions for fish and plants, reinforcing biofilter effectiveness water quality.
Frequently Asked Questions
Why Is Aquaponics Not Profitable?
It’s often not profitable because high capital and labor costs, technical inefficiencies, and market challenges undermine financial viability; I’d tell you these risks mean returns rarely cover expenses without scale, niche markets, or subsidies though.
What Is the Best Pipe for Aquaponics?
PVC Schedule 40 is the trusty, well-behaved pipe material I prefer for aquaponics, because it’s food-safe, affordable, UV-resistant, and handles flow rate needs; I’ll use PEX only where flexibility or freezing protection’s required often outdoors.
What Are 5 Disadvantages of Aquaponics?
I’m wary of aquaponics because it has high startup costs, demands constant monitoring and technical know-how, consumes energy, has a steep learning curve, and risks disease or failure harming fish health and reducing plant yield.
How to Build an Aquaponics System Step by Step?
Like planting a river into a garden, I’d sketch System Design to show you tanks, set up Water Flow with pumps and gravity drains, add sump, cycle fish, monitor parameters, seal joints, and adjust balance.