What if I told you that a single plastic cube could become your ticket to growing fresh food year-round? I’ve built several IBC tote aquaponics systems, and honestly, they’re probably the most cost-effective way to get started in this hobby. The whole concept is beautifully simple—fish waste feeds plants, plants clean water for fish. But here’s the thing: most guides overcomplicate the build process, and I think there’s a better way.
Understanding IBC Tote Aquaponics and How the System Works
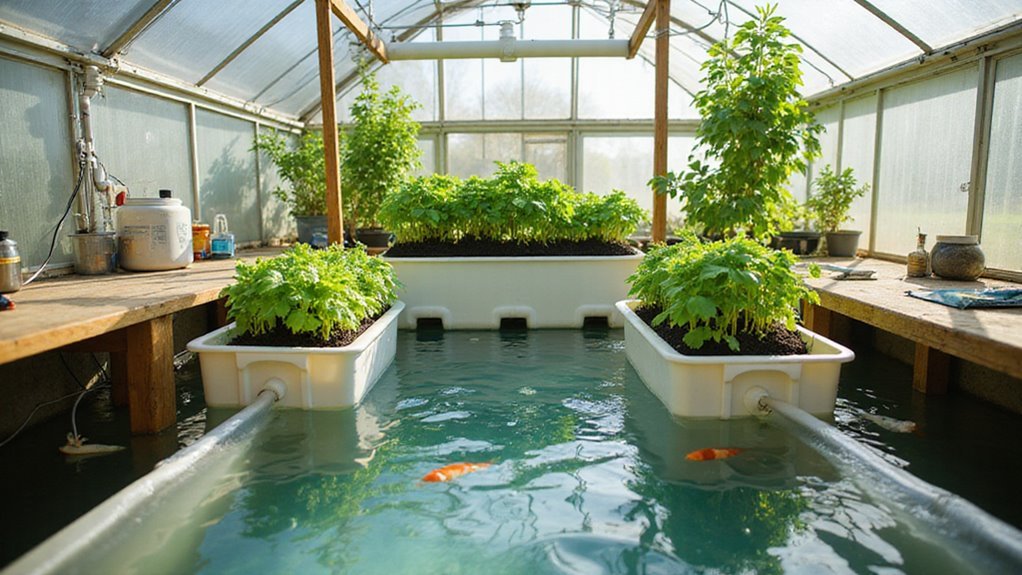
Have you ever looked at one of those big industrial containers and thought, “I could grow food in that”? Well, you actually can. IBC totes—those 275 to 330 gallon polyethylene tanks—make surprisingly effective aquaponics systems.
Here’s how it works: fish waste feeds your plants, and plants filter water for your fish. It’s basically a tiny ecosystem in your backyard.
Fish feed plants, plants clean water—nature’s perfect loop, scaled down to fit your backyard.
One of the common aquaponics myths I’ve encountered is that you need expensive equipment. You don’t.
The system runs on a flood-and-drain cycle. Water pumps up to your grow bed, then a bell siphon drains it back automatically.
Fish species selection matters here—I’m not entirely sure which works best for beginners, but we’ll cover that later.
Sourcing Materials and Tools on a Budget
Before you start hunting for materials, let me be clear: you don’t need to spend a fortune on this project. Material sourcing is actually the fun part—it’s like a treasure hunt. I’ve found that DIY labor combined with smart shopping keeps costs way down.
| Material | Budget Source | Estimated Cost |
|---|---|---|
| IBC Tote | Online marketplaces, recycling centers | $50-$75 |
| Grow Media | River rock, recycled gravel | $15-$30 |
| Plumbing Fittings | Generic brands, hardware stores | $25-$40 |
Check your workshop first—you probably already have the drill and saw you’ll need. For grow media, I think volcanic rock or river gravel works just as well as expensive commercial stuff. Maybe even better, honestly.
Step-By-Step Construction of Your IBC Tote System
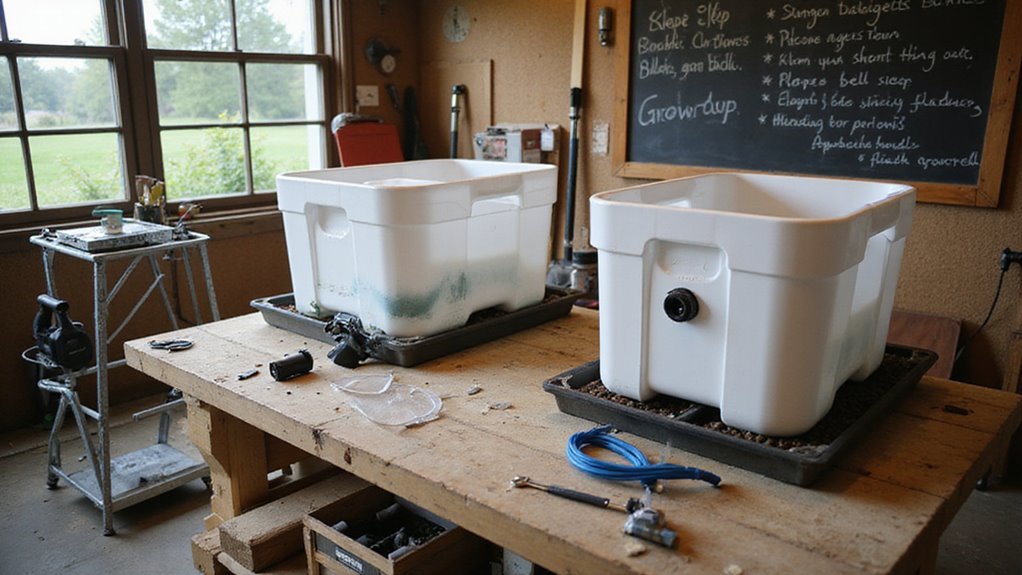
Once you’ve gathered all your materials, the actual construction process is probably the most satisfying part of this whole project. I start by carefully cutting the IBC tote along my marked lines—this creates your fish tank below and grow bed above. Take your time here, because smooth edges matter for safety and water filtration efficiency.
Next, I assemble the support frame using pressure-treated lumber. This frame needs to be sturdy since it’ll hold everything during operation.
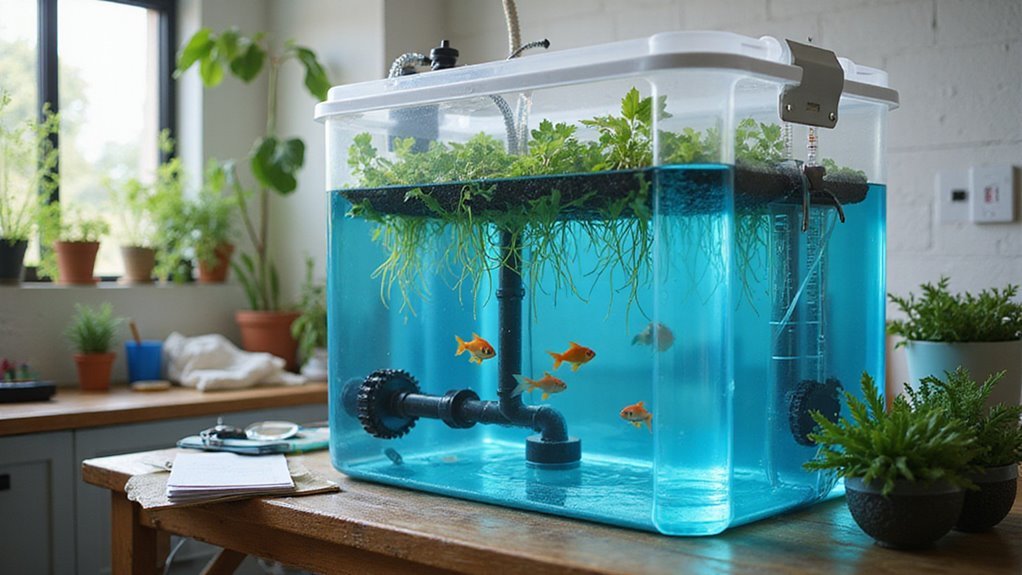
Then comes the bell siphon assembly—PVC pipes, elbows, and fittings all connected snugly through the grow bed wall. In my experience, getting this fit right is imperative for proper flood and drain cycles.
Finally, connect your water pump with PVC tubing. This setup ensures continuous circulation, which honestly makes system maintenance way easier long-term.
Plumbing Setup: Pumps, Bell Siphons, and Water Flow
Getting the plumbing right is honestly where most beginners either nail their system or end up with a soggy mess—I’ve seen it go both ways.
Here’s what you’ll need to focus on:
- A water pump rated at least 150 GPH—I’d actually recommend going slightly higher for better water pressure
- 1-inch PVC pipes for your DIY fittings connecting everything together
- A standpipe cut to your desired flood height
- A bell tube that fits over the standpipe
- A separate drain pipe to complete the siphon
The bell siphon works like a toilet, really. Water rises until it hits the standpipe, triggers the siphon, then drains rapidly.
Test every connection before adding fish—maybe twice. Leaks are frustrating to fix later.
Cycling Your System: Adding Bacteria, Fish, and Plants
How do you actually bring an aquaponics system to life? It’s all about cycling—introducing beneficial bacteria like Nitrosomonas and Nitrobacter that convert fish waste into usable nitrates. I typically add a commercial bacterial starter or, well, a small amount of fish food to kick things off.
Here’s the thing: patience matters. You’ll watch ammonia spike, then nitrites, before both drop to safe levels. This usually takes 4-6 weeks.
Test your water regularly—I can’t stress this enough for proper nutrient balancing.
Once nitrates are consistently high, usually around week two or three, you can add plants. Gradually introduce fish after cycling completes. Starting slow helps prevent aquaponics pests and keeps your ecosystem balanced.
In my experience, rushing this step causes most beginner failures.
Frequently Asked Questions
Why Do Aquaponics Fail?
Common failures include poor water quality, insufficient bacteria cycling, and overstocking fish. I’ve found that most troubleshooting tips focus on regular monitoring—checking pH, ammonia levels, and filtration. Don’t let small problems become system-ending disasters.
What Are the Ibcs of Aquaponics?
IBCs are Intermediate Bulk Containers—large plastic tanks I’d recommend for affordable aquaponics. They’re perfect for water filtration setups and maintaining fish health since they’re durable, spacious, and easily converted into complete growing systems.
How Much Does It Cost to Set up an Aquaponics System?
Building an IBC tote aquaponics system won’t break the bank! You’re looking at under $200 when you’ve got your equipment essentials covered. In a cost comparison with traditional gardening, you’ll save long-term.
How to Build an Aquaponics System Step by Step?
I’ll walk you through this: First, prepare your fish tank and plant bed from an IBC tote. Next, install the bell siphon and connect your plumbing. Finally, cycle the system before adding fish and plants.