I build, I test, I tweak—then I show you why it works. I’ll explain how a radial flow filter spins solids out like a tiny cyclone, what parts to grab, and how to plumb it in, but I’ll also warn you where it gets fiddly. I think it’s a great low-effort solution, maybe not perfect for every setup, so keep going to see whether it fits yours.
How Radial Flow Filters Work to Remove Solids
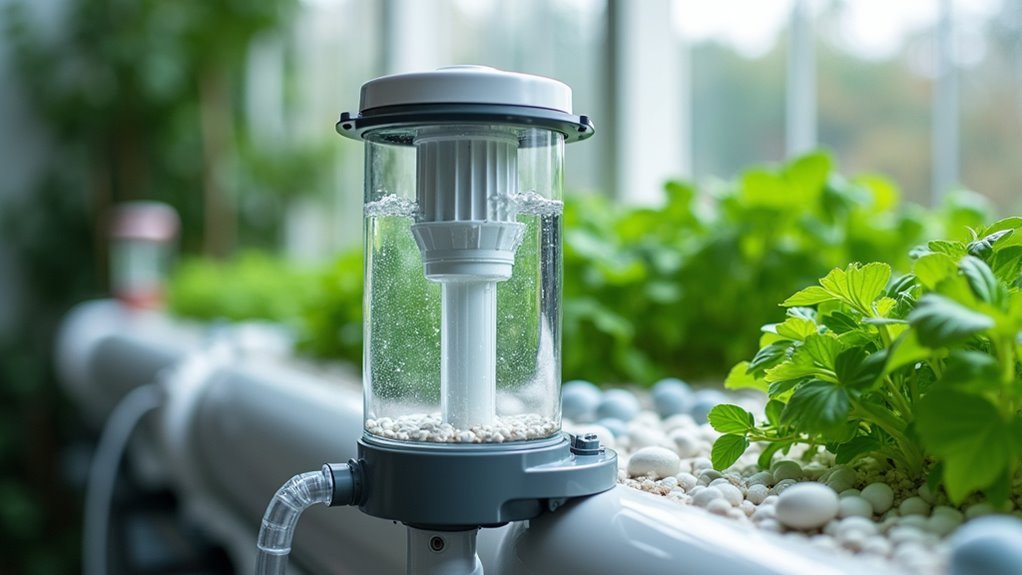
When water enters a radial flow filter it’s flung outward like mud in a spin cycle, and that’s where most of the magic happens. I watch the stream curl and think of basic fluid dynamics doing the heavy lifting as centrifugal force pushes solids to the wall.
Regular maintenance ensures ongoing efficiency and prevents debris buildup, reinforcing the role of swirl filtration in maintaining system stability.
Its simple in concept—no, it’s clever in practice. Sedimentation principles take over as particles lose momentum, slide down sloped surfaces or get trapped by baffles, and you end up with clearer water in the center. I think it’s elegant; larger solids head to the sides and bottom where you can siphon or scoop them out.
Well, maybe I’m biased, but this is how the unit keeps from clogging and stays efficient. It really does work, trust me.
Materials, Tools, and Parts You’ll Need

Although it sounds simple, gathering the right parts is half the job — and you’ll thank yourself later for being picky about quality. I plan material logistics like a shopping list: plastic drum, Uni seals, PVC pipe and fittings, chamfered pipe ends, Teflon tape, lock nuts, washers and a PVC ball valve.
For tool selection I bring a drill, 76mm (3-inch) hole saw, and a hole saw arbor — plus basic hand tools. I also grab bracing rods, old IBC cages or sleepers for the stand.
Keep spare seals and cleaning tools for maintenance; you’ll want replacements ready. I think it’s like prepping for a long trip—get the right kit, and things go smoother. Hmm, that sounded cheesy, but true, and I mean it.
Regularly checking pH, nutrient levels, and water quality helps maintain system balance and fish health water quality.
Step-by-Step DIY Construction Guide
Before you pick up the drill, remember all that gear you just hunted down — the drum, Uni seals, hole saw and the rest — because the way you laid out your parts really makes the build faster and less frustrating.
I start by marking precise, centered 76mm inlet and outlet positions; accuracy saves grief later.
Use a hole saw, reverse-thread if possible, and trim burrs with a knife for a neat fit.
Install Uni seals from outside to inside with chamfered pipe ends, tighten lock nuts firmly.
Cut a removable top flow panel from plastic so cleaning’s easy.
Seal threads with Teflon tape or sealant, check clearance and alignment.
A couple of installation tips: consider Material durability—choose sturdy plastic; it’ll last.
In cold climates, prioritize temperature control to prevent fish stress and frost-related issues.
That’s it.
Integrating the Filter Into Existing Plumbing and Testing Flow

Since you’re tying the radial flow filter into your current plumbing, I like to treat it like adding a new branch to a tree — you want smooth junctions so nothing chokes off the flow.
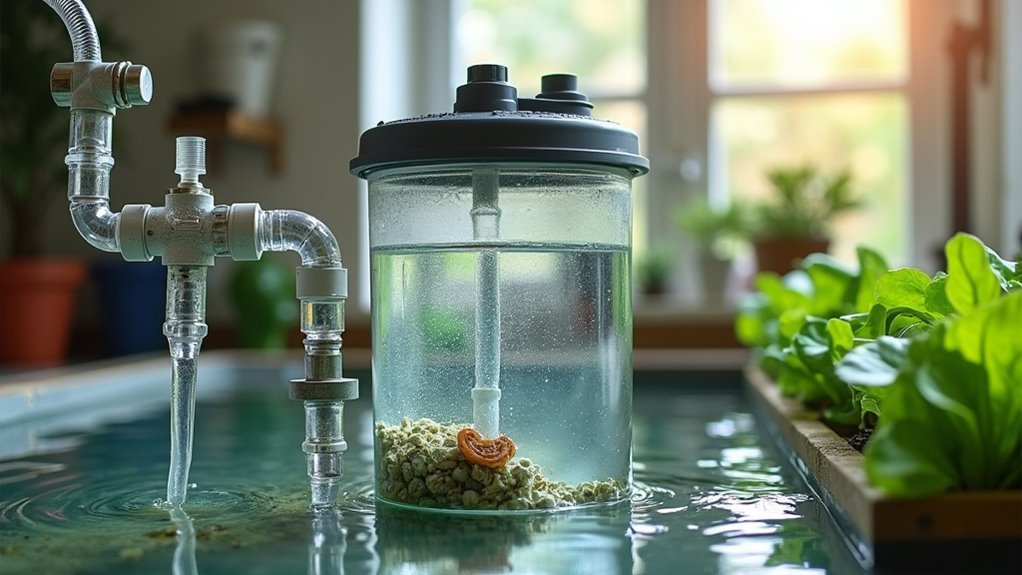
I drill 76mm holes with a hole saw for the inlet and outlet. After that, I insert the pipes from outside and use Uni seals for leak-proof joins.
I wrap Teflon tape on tapered threads, secure fittings with washers and lock nuts, and sometimes add another sealed joint toward the biofilter.
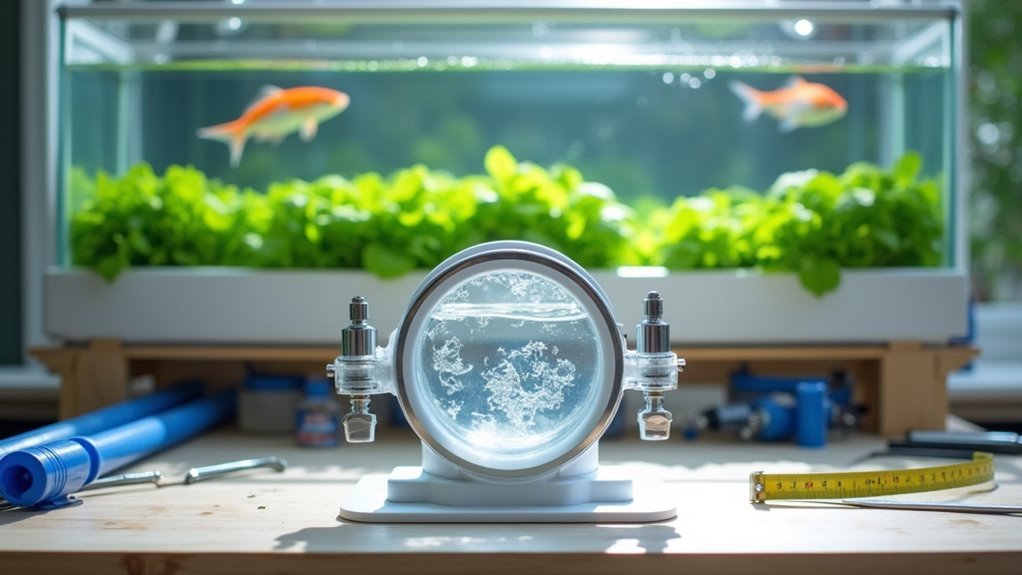
Then I fill the system, look for leaks, and do flow verification — it’s, no, it usually stabilizes around 2700 L/h after tweaks.
This step reinforces the closed-loop nature of the aquaponics system.
I also inspect and gently flush connections to keep solids from settling, check plumbing connections, and prevent clogging.
Cleaning, Maintenance Schedule, and Troubleshooting
If you want this filter to keep humming, you’ve got to treat maintenance like brushing your teeth — regular and non-negotiable. I swirl the bed weekly, siphon trapped solids every time, and check small apertures so flow stays honest. Schedule? Every 1–2 weeks, after heavy feeding. Biological filtration depends on steady flow; neglect alters water chemistry fast. Troubleshooting: if nitrite spikes or foul smell appears, inspect siphon alignment and bed construction — maybe a clog or restriction. I think it’s simple, but easy to miss. Below is a quick care chart I use. it’s my checklist. Also test water to watch biological filtration and adjust water chemistry as needed.
| Swirl bed | Weekly |
|---|---|
| Siphon solids | 1–2 weeks |
| Check apertures | Weekly |
| Inspect siphon | After issues |
| Test water | Weekly |
Regular maintenance planning also emphasizes the importance of backup power systems to prevent downtime during outages.
Frequently Asked Questions
How Much Does Building a Radial Flow Filter Typically Cost?
Typically $100–400, though about 70% of DIYers report spending near $200. I’ll tell you cost considerations: pipe, tank, fittings; prioritize material durability so you and your system won’t face frequent replacements or unexpected repairs later.
How Long Do DIY Radial Flow Filters Usually Last Before Parts Need Replacing?
They typically last five to fifteen years before major parts need replacing, though Materials durability and Replacement frequency vary by build quality, UV exposure, and maintenance; I’ll recommend periodically checking seals, PVC, and media annually.
Can Radial Flow Filters Reduce Ammonia or Only Remove Solids?
They mainly remove solids; they won’t substantially cut ammonia. I tested the theory and pictured particles settling, yet dissolved nitrogen persisted, so for Ammonia reduction you need biofilters, while Solid removal is their true strength.
Is Additional Aeration Required After Installing This Filter?
Yes, you’ll likely need additional aeration to maintain aeration effectiveness and stable oxygen levels, especially if flow slows or bio-load rises; I’d add an air stone or venturi and monitor dissolved oxygen and adjust regularly.
Are There Legal or Permit Considerations for Backyard Aquaponics Systems?
Better safe than sorry: I advise you to verify regulations compliance and permit requirements locally; I’ve seen municipalities require zoning, building, or water permits, so I’ll help you check codes and apply if necessary promptly.